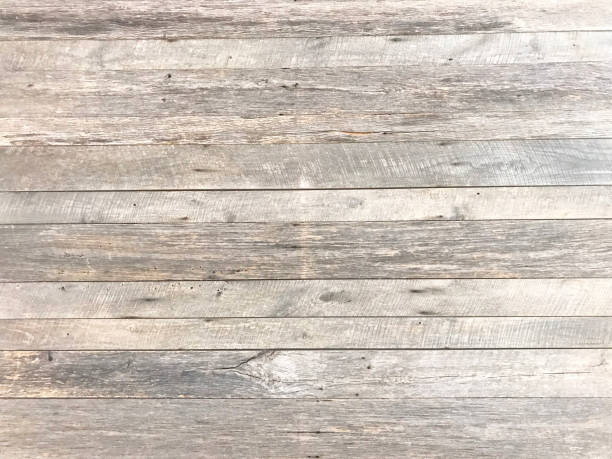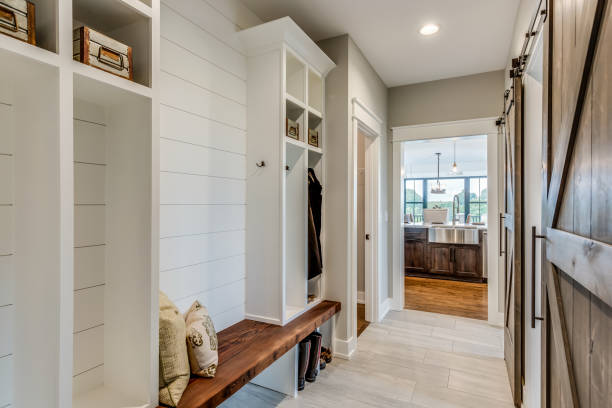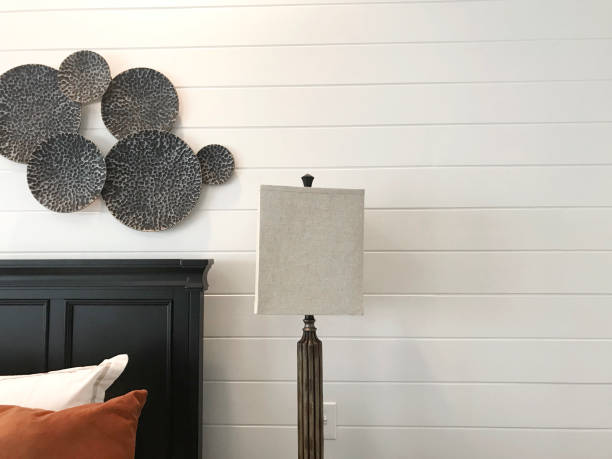
When we think of shiplap, we immediately think of a coastal cottage that is modern, rustic and filled with reclaimed wood. It’s no wonder why shiplap has become so popular because it’s the perfect way to bring all those things together in one space.
These days, you don’t have to live beside the ocean to enjoy the benefits of shiplap. You can use this style to create the look of a coastal cottage in any room you want.
Since there are so many people who want to know how to paint shiplap walls, we decided to write this post!
Shiplap is a type of wood typically used for siding on houses or as a wall paneling. The boards have a 'grooved' edge that is then pressed or stapled onto a wall in a horizontal fashion. It’s a type of construction that is common in the Southern United States, where log cabins are common.
Shiplap is a decorative wall covering that is made from wood and has a very rustic charm to it. It can be made from a variety of different types of wood and can be painted or stained in many different colors. Shiplap is used to cover an entire wall or just a portion of a wall.
Shiplap wood is attached horizontally to the wall with a gap between the boards and is often found in traditional or vintage-style rooms, especially coastal or beach-themed decor.
This is a very popular wall covering, not only because it’s aesthetically pleasing, but because it’s also very cost-effective. It’s a great option for people who want to give their home a modern, coastal look without breaking the bank. Shiplap is also a very functional wall covering because it is very sturdy, durable and easy to clean.
This type of wall covering is easy to modify, too. If you want to change the look of your wall, all you have to do is repaint it. Shiplap is also a great choice if you want to add some extra insulation to your home. This type of wall covering is great for soundproofing and is an excellent choice for basements and other rooms that are prone to feeling cold.
Before you get started with your shiplap project, there are a few things you’ll want to make sure you have in place. We recommend using a primer when painting shiplap walls. This will help keep your paint from peeling or flaking off the wall, which is a common problem with shiplap.
You will also want to make sure you have the right tools for the job. You’ll need a high-quality roller, a paintbrush and paint tray. You should also have a drop cloth to protect your floor and a ladder so you can reach the highest corners.
You’ll also want to make sure you have plenty of time set aside for your shiplap project because it can take a lot longer than you might expect.

First, you need to decide which color you want to paint your shiplap walls. The most popular colors for shiplap walls are white, pale blue, gray and light brown. Shiplap walls look best when they’re painted a light color. White is the most popular choice for shiplap walls, followed by blue and gray.
Be sure to pick a white that’s bright and clean, not one that has a yellow undertone. Shiplap walls also look great painted with a pale blue or gray. If you choose blue, make sure it’s a light, vibrant blue. If you choose gray, make sure it’s a light gray without any blue undertones.
What you'll need
How to Paint Shiplap: Step by Step

The first thing you’ll want to do is sand the shiplap. This will help the paint adhere to the panels and make it look as if it were never wood to begin with. The shiplap will also have a more even finish once you’ve applied the new paint. Use a sanding block with a medium-grit sandpaper.
Make sure to sand all panels and edges, including the back. This will ensure that there are no rough patches of wood or splinters when you paint. If you’re painting over existing shiplap, sand any areas where the paint has chipped or peeled off to help the new paint adhere.
Once you’ve sanded the panels, paint them with a base coat of paint. This will help cover any discoloration or imperfections in the wood. It will also ensure that the paint will look as smooth and even as possible when you apply the top coat.
Choose a paint color that will blend in with the rest of the room. If you’re painting shiplap that’s already in another room, look around to get an idea of what the surrounding colors are. It’s best not to paint the panels a completely different color.
Instead, choose a color that compliments the rest of the room while still being noticeably different.
Next, you can choose to either lighten or darken the base coat of paint. The shiplap will look like it has more depth to it, and it will look like it was built into the wall from the beginning.
To lighten the base coat of paint, mix it with some white paint. For darker panels, you can add a bit of black paint. You want the paint to be about the same consistency as before, so add just a tiny bit of black or white to the paint. Use a paintbrush to paint the panels.
This step is optional, but it will add a bit of depth to the panels, making them look almost as if they were carved out of wood. First, paint an outline of your desired pattern on the panels using a paintbrush.
For example, you can use a stencil to create a scalloped edge. Make sure to paint the outline white. Then, fill in the rest of the pattern with white paint. You don’t want the paint going outside the lines, so use a ruler or tape to mark a straight line as a guide.
For this step, you’ll be painting an outline around the white pattern you painted in the previous step. This will give the shiplap panels more depth and make it look like they were built into the wall.
Use a paintbrush to paint an outline around the white pattern. Choose a dark color for this, like black, dark blue, or dark brown. Make sure to leave a gap between the outline and the pattern; don’t fill in the pattern entirely. You want to be able to see the white pattern peeking through.
Finally, seal the paint with a topcoat of paint. This will ensure that the paint doesn’t chip or peel. Using a high-quality paint, either oil or latex-based, will also ensure that the paint remains durable even as it ages.
If you’re painting over existing wood, make sure to use a sealer. This will help protect the wood against the elements and keep it from rotting.
After the paint has dried, you can touch up any areas where the paint has chipped or peeled off. This is especially important if you’re painting over existing shiplap. If you notice any spots where the paint has chipped or peeled off, it’s
Frequently Asked Questions
The popularity of shiplap walls can be attributed to the fact that this type of wall covering is abundant in the Great Lakes region of the U.S. and Canada, where shiplap is often used in log cabins. Since many homeowners like the rustic, woodsy aesthetic of log cabins, shiplap has become synonymous with the rustic look.
Shiplap is often used as a substitute for real logs, as it is cheaper and easier to install than logs. This type of wall covering has been used in homes for many years, and has been enjoying a resurgence in popularity recently, particularly in the mid-century modern design aesthetic.
Shiplap can be painted, but it is important to remember that the rough side of the board that faces the wall will be visible, even after painting.
Both the rough side of the board and the smooth side of the board that faces the outside of the room can be painted; however, it is important to note that the rough side of the board may not absorb the paint as well as the smooth side of the board.
In order to prevent runs, drips, and missed spots, use a roller rather than a paintbrush. A roller will cover a larger area with fewer strokes than a brush. It is also important to use drop cloths to cover furniture or other items in the room that you do not want painted.
Shiplap is a very versatile material that can be used for interior walls or as exterior siding. It can be painted in a variety of colors, stained, or left as-is for a rustic, unfinished look. Shiplap walls are installed in the same manner as regular wall boards, but the edges should be “exposed” to create a rustic look.
As shiplap is already the “rough” side of the board, the edges do not need to be finished. This type of wall covering is a great option for an inexpensive and easy-to-install DIY project that will add character to any room. Shiplap walls can be installed in any room of the home, including the kitchen and bathroom.
The cost of shiplap walls will depend on the type of wood used, the size of the boards, and where you purchase the materials. Depending on your location and the type of wood you choose, shiplap walls can cost $10-$50 per board foot. You will need about two board feet per square foot of wall.
Shiplap can be purchased pre-made or you can purchase lumber and cut it to size yourself. Pre-made shiplap can be purchased in a variety of sizes, including 6-foot boards, 8-foot boards, or 12-foot boards. The cost of pre-made shiplap will vary based on the type of wood and size of the boards.
Shiplap is one of the most versatile types of wood you can use to decorate your home. It’s easy to find and can be painted or stained in a variety of different colors. If you love the look of shiplap walls but don’t know how to paint them, don’t worry.
We’ve got you covered! We’ve outlined everything you need to know to successfully paint shiplap walls in this post. There are two different methods you can use to paint shiplap walls: the easy method and the hard method.
Whichever method you choose, be sure to use high-quality paint and follow our tips for painting shiplap walls to get the best results.If you want to make sure the job looks perfect, contact our team at Pristine Painters. We know the tips and tricks of residential painting to make your walls stand out.