Pristine Logo

Interior Painting Timeline Guide for NYC Homes

August 19, 2026

A fresh interior paint job can make a Manhattan prewar apartment feel brighter, help a Brooklyn rental show better, or give a Queens office a more polished first impression. But the finish is only part of the plan. This interior painting timeline guide explains what actually happens before, during, and after the painters arrive, so you can schedule the work with realistic expectations.

For most occupied NYC apartments, painting one to three rooms takes two to five working days. A full apartment, extensive wall repairs, skim coating, high ceilings, dark-to-light color changes, or building access restrictions can extend that schedule. The best timeline is not the fastest one on paper. It is the one that gives preparation, drying, and final details the time they need.

Start Planning 2 to 4 Weeks Before Painting

The first stage is defining the scope. Decide which rooms, ceilings, trim, doors, closets, and accent walls are included. This is also the time to identify concerns that affect labor, such as nail pops, water stains, peeling paint, cracked plaster, uneven walls, or furniture that cannot be moved.

For NYC properties, access deserves just as much attention as color selection. Co-ops and condos may require a certificate of insurance, contractor paperwork, elevator reservations, protective floor coverings, and approval for work hours. Commercial spaces may need work scheduled around staff, customers, deliveries, or after-hours building rules. Missing one approval can delay an otherwise straightforward project.

A professional estimate should separate painting from surface preparation where possible. Two rooms with the same square footage can have very different schedules if one has smooth drywall and the other needs plaster repair or skim coating. Clear scope upfront protects the schedule and helps avoid last-minute changes.

Choose Colors Before the Crew Is Scheduled

Color selection can quietly add time to a project. Test samples in the actual room, especially near windows and under the lighting you use at night. Natural light in a south-facing living room can make a color look entirely different from the same color in an interior hallway.

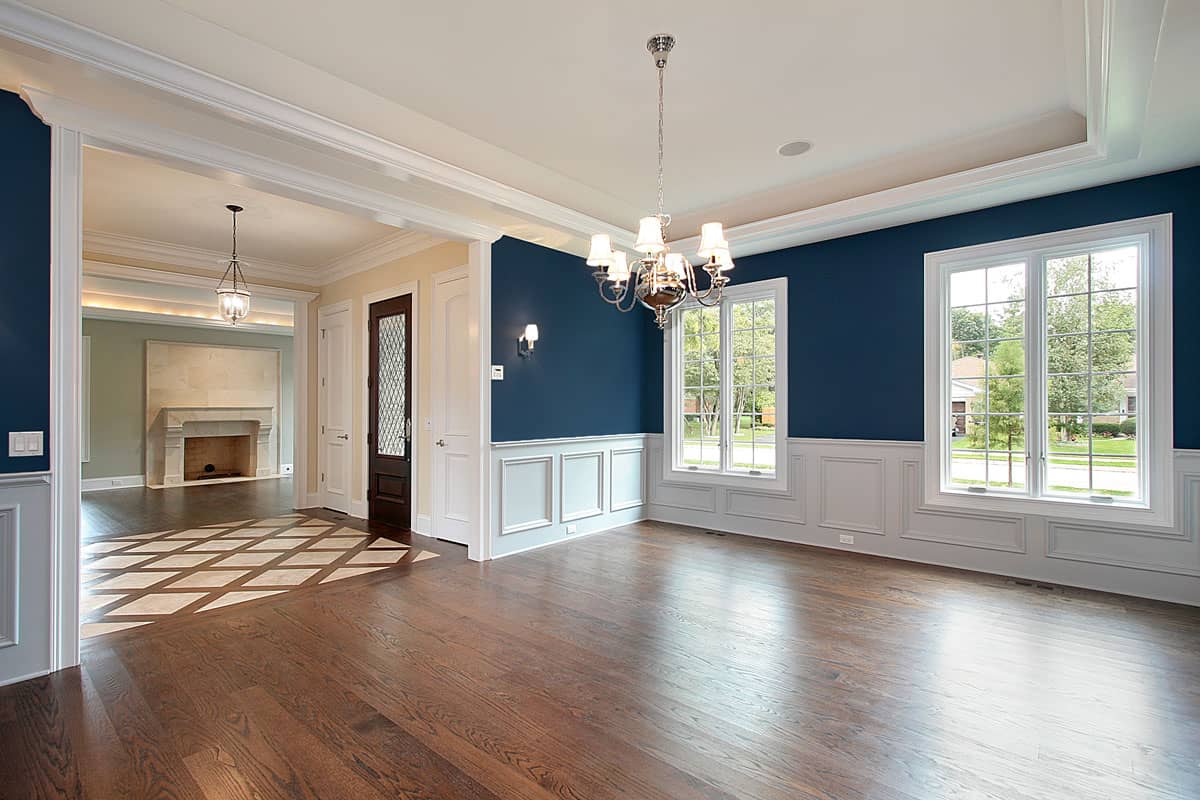
Finalize colors, finishes, and accent-wall locations before work begins. Painters can make adjustments, but switching a deep blue wall to a light neutral after the first coat may require additional primer and coats. That affects both material use and drying time.

As a practical rule, flat or matte finishes are often forgiving on older walls and ceilings, while eggshell, satin, and semi-gloss finishes offer more cleanability in high-traffic spaces. Higher-sheen paint also reveals surface imperfections more readily. If your walls have patches, ripples, or old plaster movement, the preparation standard matters as much as the selected color.

The Interior Painting Timeline: What Happens on Site

Day 1: Protection, Setup, and Surface Preparation

The first day is usually less dramatic than homeowners expect. Skilled painters begin by protecting floors, furniture, counters, fixtures, and work areas. In occupied apartments, this careful setup is essential. A clean worksite makes the process easier on residents and safeguards the property.

Next comes wall preparation. Painters remove loose material, fill small holes and cracks, sand repaired areas, caulk gaps around trim, and spot-prime where needed. Larger issues require more time. Water damage must be addressed at its source before paint is applied, and failing plaster may need repair before a smooth finish is possible.

This stage is where low bids often cut corners. Paint cannot hide every flaw, particularly under light-reflective finishes or in rooms with strong daylight. Proper preparation is what creates crisp lines, even walls, and a result that still looks good after the furniture goes back.

Day 2: Primer and First Coats

Once preparation is complete and dust is controlled, primer is applied where the surface or color change calls for it. Primer is especially useful over repaired sections, stains, bare patches, glossy surfaces, and dramatic color shifts. It improves consistency and can prevent old colors from flashing through the new finish.

The first coat follows. Depending on the scope, painters may work through ceilings first, then walls, trim, doors, and other detailed surfaces. This order reduces the chance of damaging newly completed work.

Drying time is not the same as cure time. Many modern interior paints feel dry within hours, but they still need appropriate time between coats. Humidity, ventilation, room temperature, and the product itself all affect the schedule. Rushing the next coat can lead to dragging, uneven sheen, or poor adhesion.

Day 3: Second Coats and Detail Work

Most quality interior repaints require two finish coats for uniform coverage and durable color. Some existing light walls repainting in a similar shade may need less, while deep reds, strong blues, bright whites, or dark colors often need extra attention. The right answer depends on coverage, not a promise made before anyone sees the walls.

Detail work becomes more visible at this point. Painters cut clean lines at ceilings and trim, finish doors and baseboards, check corners, and inspect repaired areas from different angles. In a well-managed project, the crew is not simply applying paint quickly. They are evaluating how the finish reads across the room.

Day 4 and Beyond: Repairs, Skim Coating, or Larger Spaces

Projects extend beyond three days when the walls need substantial work or the property is larger. Skim coating, for example, is a surface-restoration process that can transform rough, heavily patched, or dated walls into a smooth canvas for paint. It also has its own drying and sanding requirements, so it should never be treated as a same-day add-on.

A full one-bedroom or two-bedroom apartment may take several days depending on room count, ceiling height, trim, closets, and condition. A commercial interior may move faster when it is empty and access is unrestricted, but coordination can add time if work must happen overnight or in phases.

Factors That Can Change Your Painting Schedule

A reliable contractor plans for normal conditions, but certain issues only become visible once furniture is moved or old paint is inspected closely. Hidden wall damage, active moisture, loose plaster, unexpected repairs, and additional rooms added after the estimate can change the timeline.

Building logistics are another common NYC variable. A delayed elevator reservation, restricted loading-dock access, or limited weekday work window can affect start and finish times. If you live in a building with formal rules, provide them before scheduling instead of assuming they can be handled on the first morning.

Occupied spaces require compromises, too. Painting around a family working from home, a tenant, pets, or a functioning business may mean completing rooms in phases. That approach can reduce disruption, though it may take longer than painting an empty property all at once.

How to Keep the Project Moving Without Sacrificing Quality

Before the start date, clear small belongings from shelves, walls, and countertops. Remove artwork, fragile items, window treatments, and electronics where practical. Decide who will move large furniture and confirm whether it will remain in the center of the room under protection or be relocated entirely.

Keep color decisions available in writing, including paint name, finish, and room assignment. If building management requires paperwork or elevator coordination, complete it early. During the project, give the crew a reliable point of contact who can answer questions about access, colors, or minor scope decisions.

It also helps to reserve a little flexibility around move-ins, photo shoots, tenant turnover, or reopening a business area. A paint job may be nearly complete before the final inspection, but the last touch-ups and cleanup are not optional. Scheduling the space too tightly creates pressure at the exact moment quality control should be highest.

Plan for the Final Walkthrough and Return to Use

The final walkthrough should happen before the crew leaves, with lights on and window coverings open where possible. Look at walls from normal viewing distance, then inspect high-visibility areas around doors, trim, corners, and repaired sections. Mark reasonable touch-ups clearly so they can be handled efficiently.

Fresh paint can usually tolerate light use after it has dried, but avoid aggressive cleaning, taping items to walls, or pushing furniture tightly against painted surfaces right away. Allow extra time before hanging heavy artwork or returning the room to full use, particularly in humid conditions.

For NYC homeowners, landlords, and business owners, the value of a clear schedule is confidence. You know when decisions need to be made, where delays can occur, and why professional preparation is worth protecting. Pristine Painters approaches each interior project with that level of accountability, because a polished result should feel organized from the first estimate through the final walkthrough.

Receive a free quote!

This field is for validation purposes and should be left unchanged.
Name(Required)

Recent Posts

linkedin facebook pinterest youtube rss twitter instagram facebook-blank rss-blank linkedin-blank pinterest youtube twitter instagram